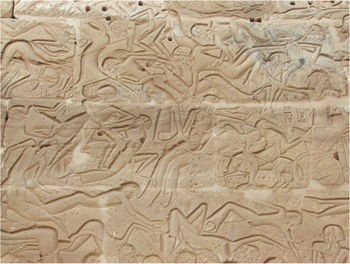
The Battle of Qadesh
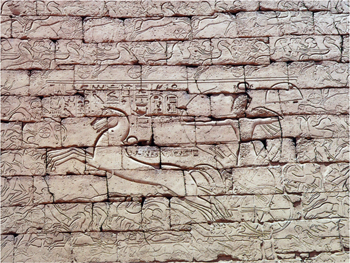
Mortuary temple of Seti I, reliefs finished during Seti's reign (left) and during Ramesses II's reign (right)
Plan of the Ramesseum
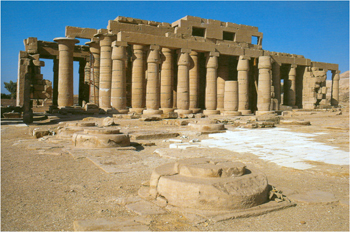

Ramesseum hypostyle hall and storage magazines
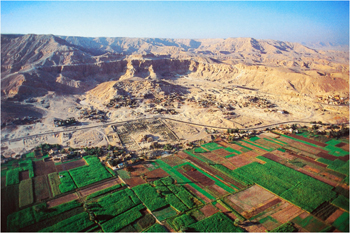
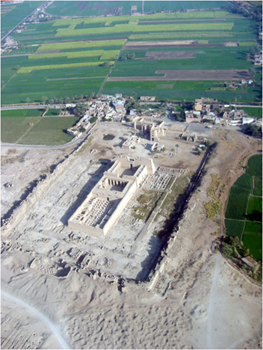
General view of the the Theban west bank mortuary temples (the Ramesseum is in the middle and most clearly visible) and the front of the remaining portion of the mortuary temple of Seti I
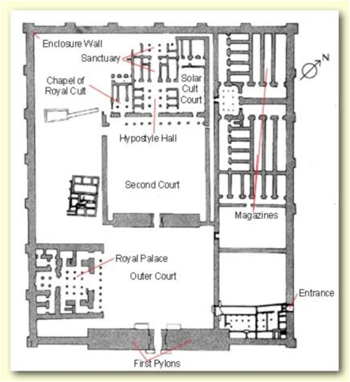
Plan of the mortuary temple of Seti I
Medinet Habu from the air
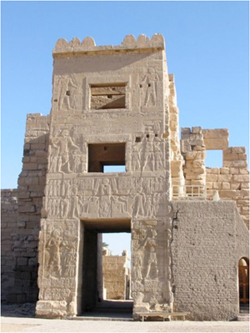
Eastern High Gate and scene of chaotic warfare, Medinet Habu
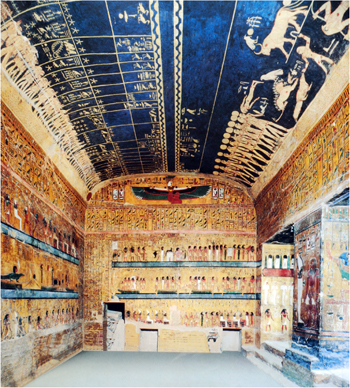 Tomb of Seti I, Valley of the Kings
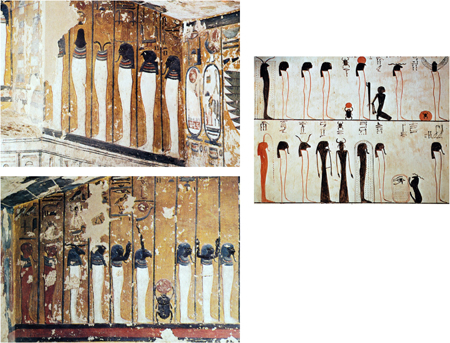
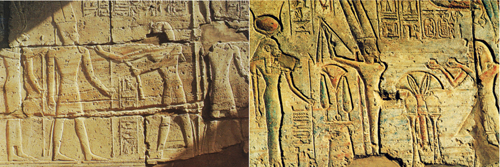
Litany of Ra, Seti I tomb (left) and Thutmosis III tomb (right)

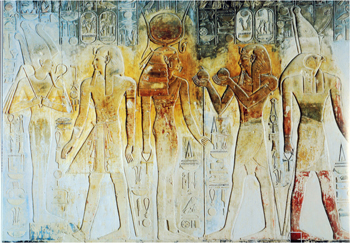
Seti and Ptah from the temple at Abydos
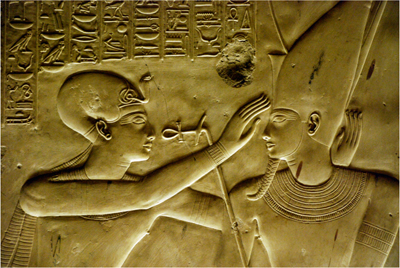
Seti receives life while blessing the god at the Abydos temple
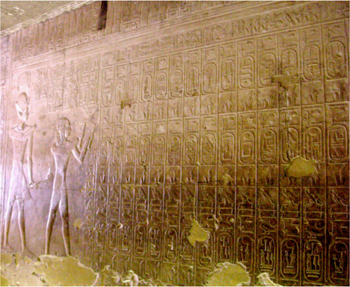
King list, Abydos temple of Seti I
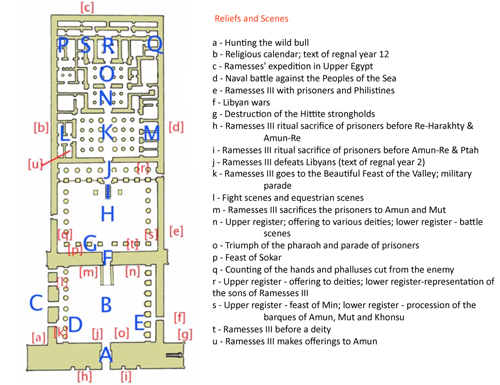
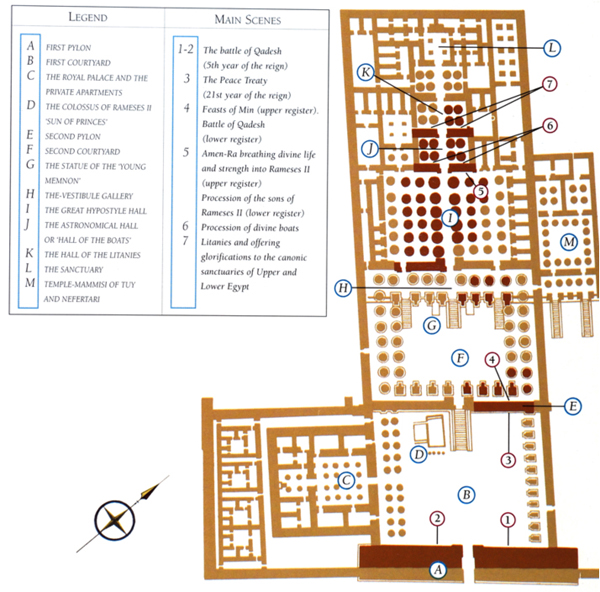
Medinet Habu plan
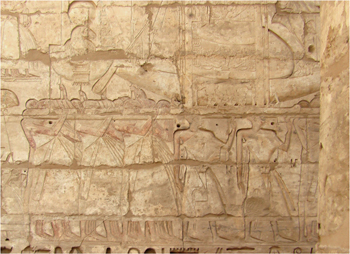
Image of a procession from Medinet Habu
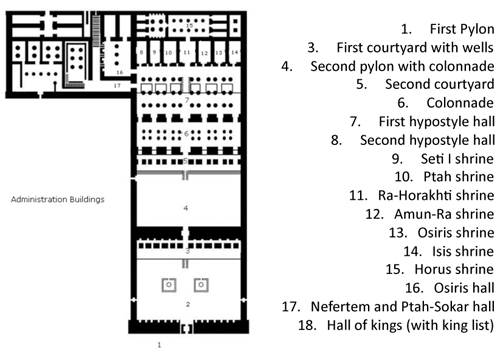
Seti I temple at Abydos plan
